
With GTSite, you can easily setup your first server without any coding at all. GTSite aims to simplify the process of hosting and managing WordPress sites, allowing developers and agencies to focus on building great websites without worrying about the underlying infrastructure. Now let’s get you started.
How To Create A Server With GTSite #
Step 1: Sign Up For GTSite With Credentials #
First, you will need to visit the GTSite website and sign up for a GTSite account.
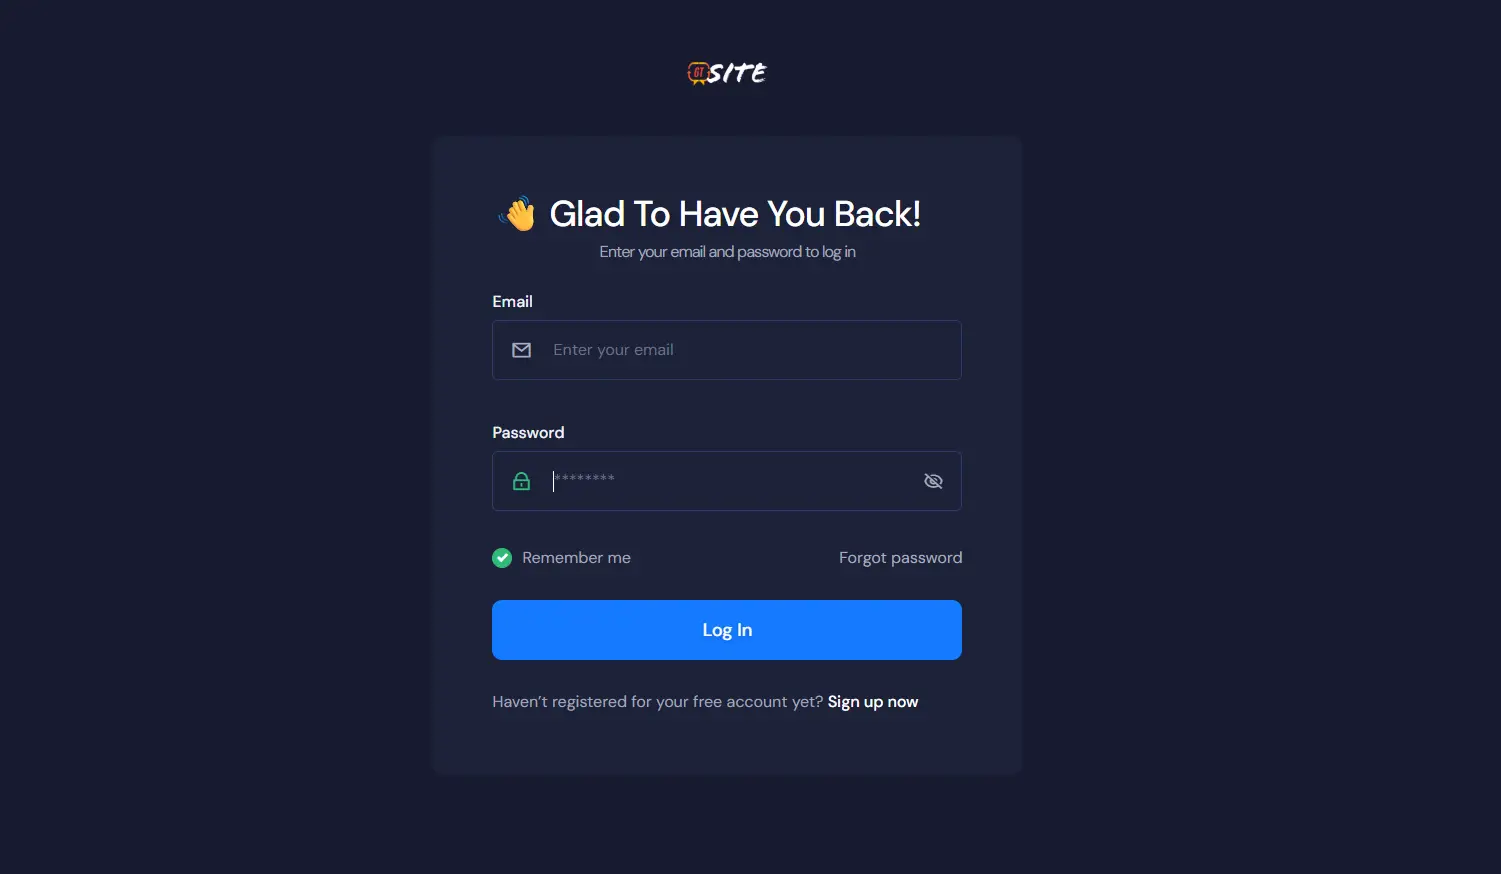
On the sign-up screen, add all the necessary information and make sure to add a secure password.
If you already have an account, you can go directly to the GTSite login form. After you log in, you are ready to set up your first server & site with GTSite.
Step 2: Create Your First Server #
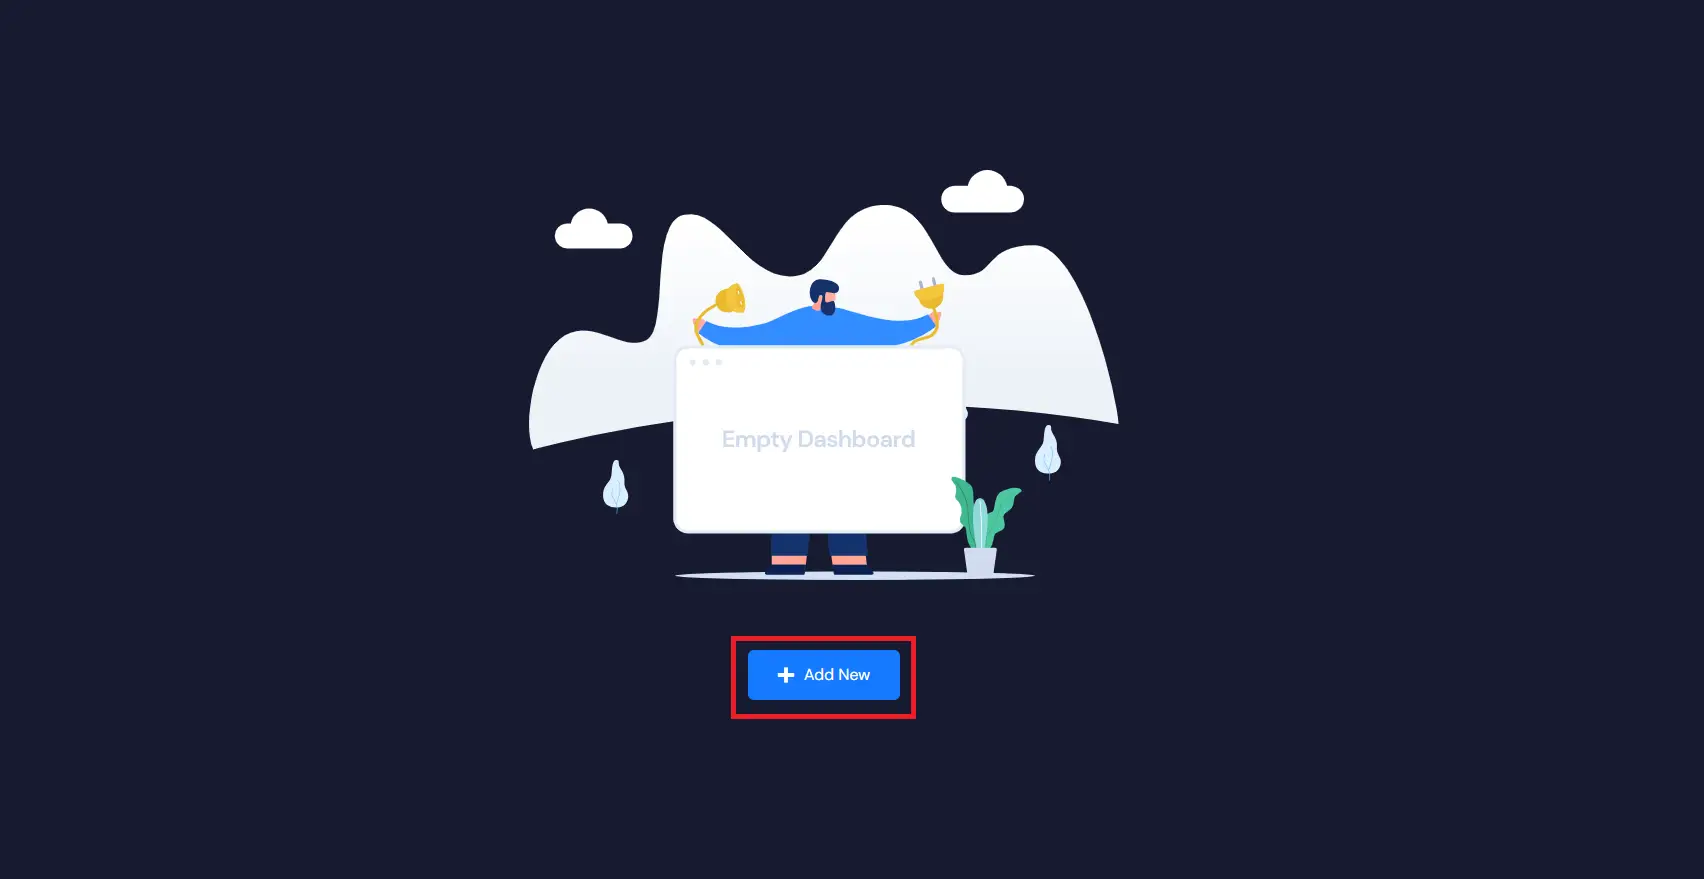
After logging in to your GTSite account, add a new server by clicking on the “Add New” button from your dashboard.
Note For Users Who Already Have A Server On GTSite. #
If you already have a server, the screen will look a little different. Just click the “New Server” button in the top righthand corner of the dashboard.
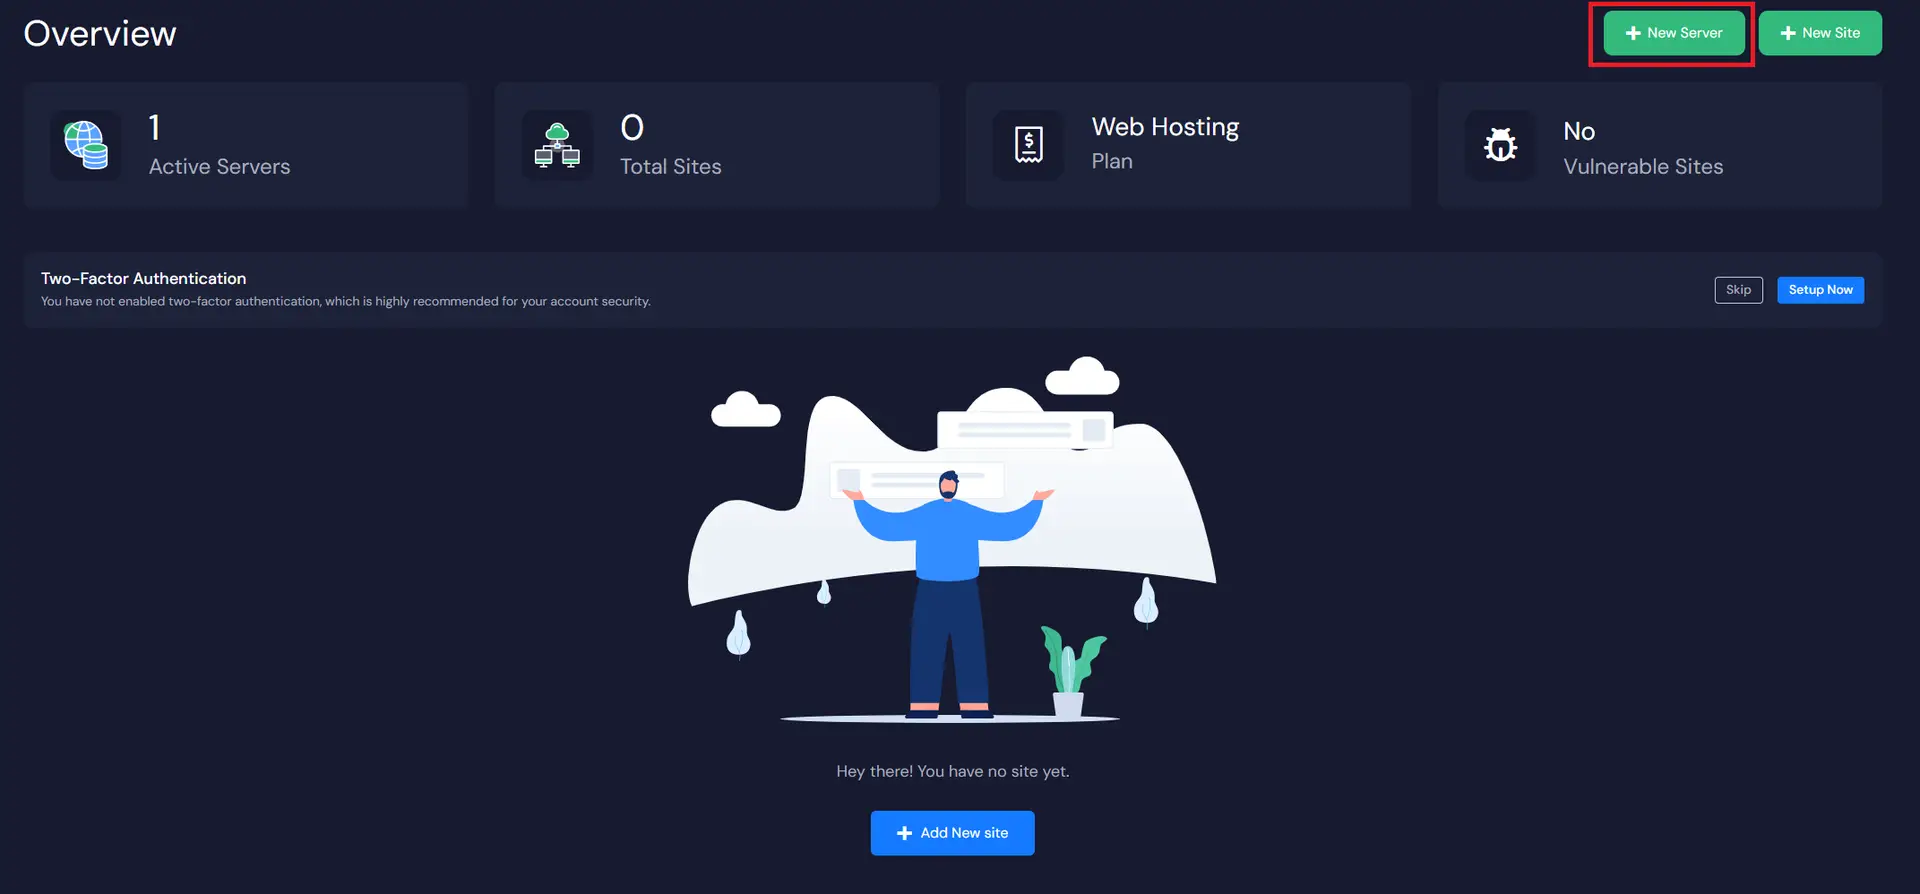
The next screen will provide the list of our server types. To create a server on GTSite you must add your billing information here. Billing for your GTSite server will be handled under your current GTSite account.
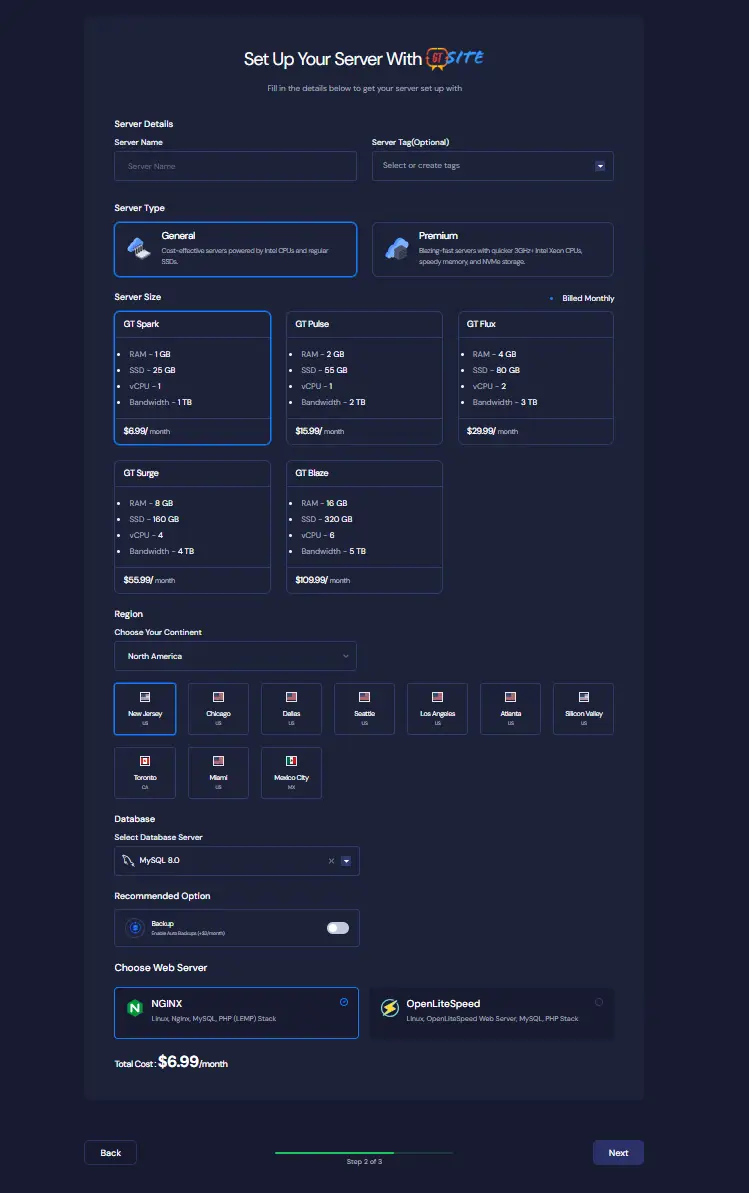
Step 3: Setup Your First Server #
Now you need to provide the Server name (whatever you want), your preferred plan according to your Server Specifications (CPU, RAM, storage), and the Region nearest to you and your visitors. GTSite gives you the option to select either a MySQL or a MariDB database server. By default, the Database Name and the Root Password are auto-filed, but you have the option to change these. Just make sure you save the information in a safe place.
After successfully submitting the form, it can take up to 5-7 minutes to create the server. That’s it! You’ve successfully created a server on GTSite, and now you are ready to install a lightning-fast WordPress Site without any complexity.


